Artistic expression knows no bounds, and even the simplest objects can serve as profound sources of inspiration. Drawing everyday items like a toothbrush not only hones your artistic skills but also improves your ability to observe intricate details. Whether you're a budding artist or an experienced illustrator, learning how to draw a toothbrush can be both fun and rewarding. In this article, we'll provide you with a structured guide to help you create an accurate and captivating toothbrush sketch. From understanding proportions to adding life-like details, you'll have everything you need to master this unique subject.
Drawing a toothbrush might seem like an unusual choice at first, but it's an excellent exercise for developing precision and attention to detail. A toothbrush, with its combination of straight lines, curves, and textured bristles, allows artists to practice different techniques in one single drawing. This guide will walk you through every step of the process, ensuring you have a clear roadmap to follow—whether you're sketching for fun, school projects, or professional purposes.
By the end of this article, you'll not only be able to draw a toothbrush with ease but also gain insights into the broader principles of art and design. With tips, tricks, and FAQs to address common challenges, this guide is your ultimate resource for mastering the craft. So, grab your pencils, paper, and creativity—let's get started!
Table of Contents
- Understanding the Importance of Drawing Everyday Objects
- Materials Needed to Draw Toothbrush
- Step-by-Step Guide to Draw Toothbrush
- Step 1: Sketching the Outline
- Step 2: Adding the Handle Details
- Step 3: Defining the Bristles
- Step 4: Shading and Highlighting
- Common Challenges and How to Overcome Them
- Tips to Enhance Your Drawing
- Importance of Lighting and Perspective
- How to Create a Realistic Toothbrush Drawing
- Using Digital Tools to Draw Toothbrush
- Coloring Your Toothbrush Drawing
- Incorporating Toothbrush Drawings into Art Projects
- Frequently Asked Questions
- Conclusion
Understanding the Importance of Drawing Everyday Objects
Drawing everyday objects like a toothbrush might seem mundane at first glance, but they provide a unique opportunity to refine your artistic skills. Everyday items are accessible, familiar, and often overlooked as artistic subjects. By focusing on such objects, artists train themselves to appreciate the beauty of the ordinary, seeing the world with a more detailed and creative eye.
For instance, a toothbrush combines simple geometric shapes with intricate textures, making it an excellent subject for practicing precision, proportion, and shading. Artists can explore different styles, from minimalist line art to hyper-realistic sketches, using the toothbrush as a model. This exercise can significantly improve observational skills, which are crucial for creating lifelike drawings of more complex subjects in the future.
Moreover, drawing everyday items teaches patience and problem-solving. You'll learn to deal with challenges such as capturing fine details, achieving symmetry, and representing textures realistically. The skills you develop in the process are transferable to virtually any artistic endeavor. So, whether you're pursuing art as a hobby or a profession, mastering the art of drawing everyday objects is a valuable step in your creative journey.
Materials Needed to Draw Toothbrush
Before diving into the drawing process, it's essential to gather the right materials. The tools you use can significantly impact the quality of your artwork, so choosing wisely is crucial. Here's a list of recommended materials for drawing a toothbrush:
- Pencils: A range of pencils from HB to 6B will give you the versatility needed for outlining, shading, and detailing.
- Erasers: Use a regular eraser for large corrections and a kneaded eraser for precise adjustments.
- Paper: Opt for high-quality drawing paper with a smooth texture to ensure clean lines and effortless shading.
- Ruler: A ruler is helpful for achieving straight lines, especially when drawing the handle of the toothbrush.
- Blending Tools: Blending stumps or tissue paper can help you create smooth transitions in shading.
- Colored Pencils or Markers (Optional): These are great for adding color if you wish to create a vibrant drawing.
Having the right materials on hand not only simplifies the drawing process but also helps you achieve better results. Once your tools are ready, you’re all set to begin your artistic journey!
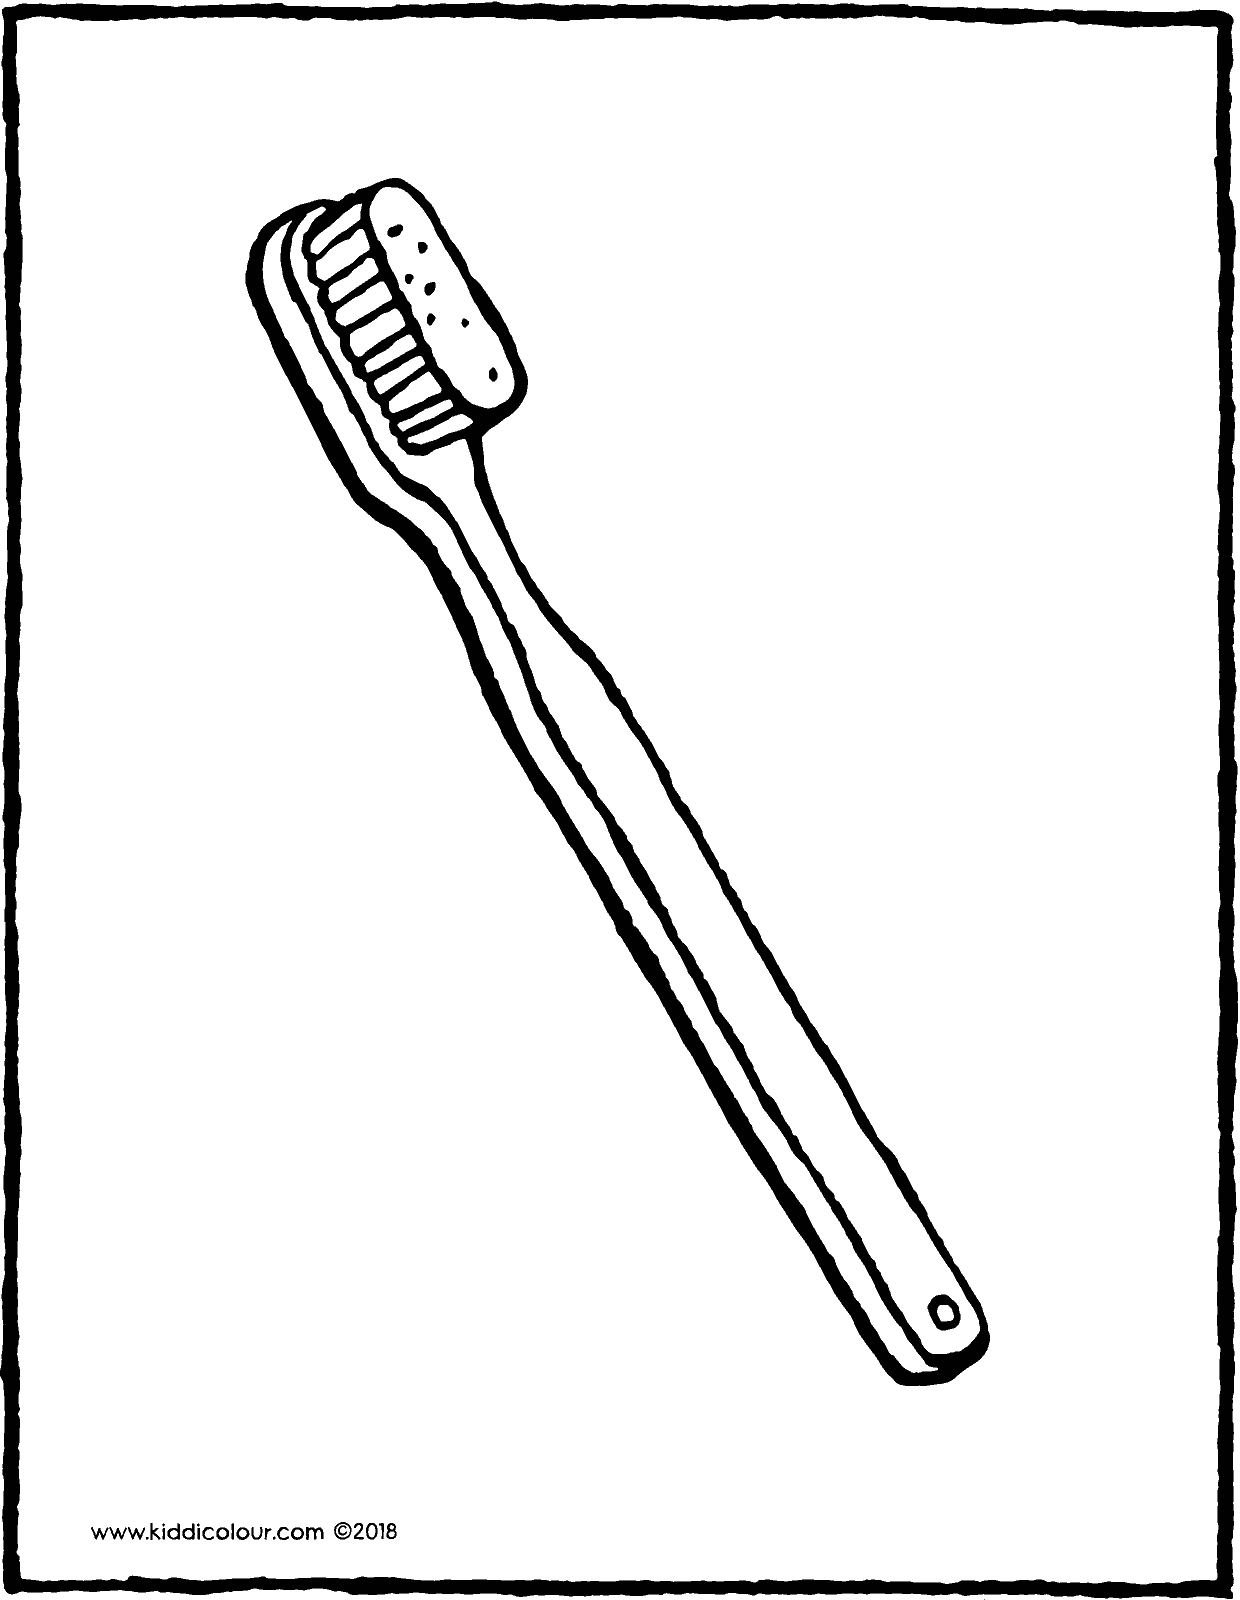
Step-by-Step Guide to Draw Toothbrush
Drawing a toothbrush might seem intimidating at first, but with a structured approach, it becomes a manageable and enjoyable task. Follow this step-by-step guide to create a detailed and accurate depiction of a toothbrush.
Step 1: Sketching the Outline
Begin by lightly sketching the outline of the toothbrush. Use a pencil with an HB grade to draw a simple rectangular shape for the handle. At one end of the rectangle, draw a slightly curved shape to represent the head of the toothbrush. Keep your strokes light and avoid pressing too hard to make it easier to erase and refine the lines later.
Step 2: Adding the Handle Details
Once the outline is complete, add details to the handle. Most toothbrush handles have ergonomic designs with grooves or patterns for grip. Use smooth, curved lines to depict these features, ensuring they align with the overall shape of the handle. You can also include a brand logo or text if you want to give your drawing a realistic touch.
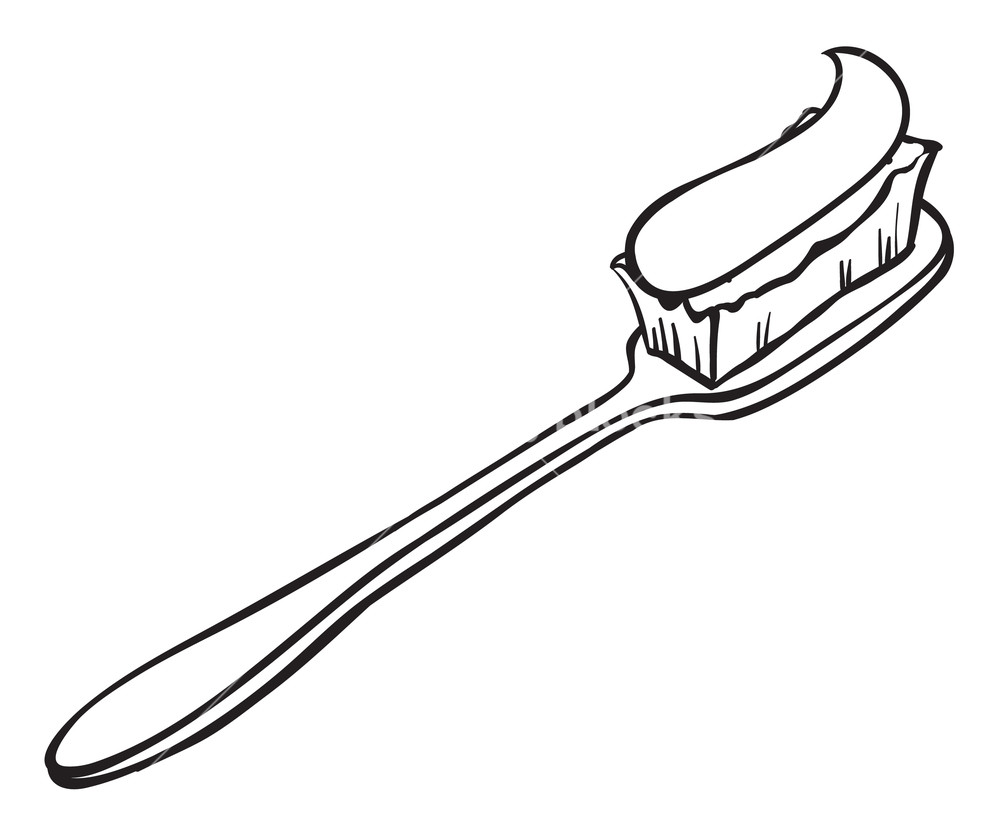
Step 3: Defining the Bristles
The bristles are an essential part of the toothbrush and require careful attention to detail. Start by drawing a series of parallel lines to represent the rows of bristles. Use short, quick strokes to give the appearance of individual bristles. Remember to vary the length and direction slightly to create a natural and realistic look.
Step 4: Shading and Highlighting
Shading and highlighting bring your drawing to life. Use a pencil with a softer lead, such as 4B or 6B, to add shadows along the edges of the handle and the base of the bristles. Blend the shading with a blending stump or tissue paper for a smooth finish. To create highlights, use an eraser to lift graphite from areas where light would naturally hit the toothbrush, such as the top of the handle and the tips of the bristles.
Common Challenges and How to Overcome Them
Even with a clear guide, you may encounter challenges while drawing a toothbrush. Here are some common issues and tips to overcome them:
- Achieving Symmetry: Use a ruler or a grid to ensure the handle and head are symmetrical.
- Drawing the Bristles: Focus on one section at a time to avoid overwhelming yourself. Use light strokes and build up the details gradually.
- Shading: Practice blending techniques on a separate piece of paper before applying them to your drawing.
Remember, practice makes perfect. Don't be discouraged by initial difficulties; instead, view them as opportunities to learn and improve.
Frequently Asked Questions
- What is the best pencil grade for drawing a toothbrush?
- How do I make the bristles look realistic?
- Can I use digital tools to draw a toothbrush?
- Should I add color to my toothbrush drawing?
- How long does it take to draw a toothbrush?
- What other everyday objects can I practice drawing?
An HB pencil is ideal for sketching the outline, while softer pencils like 4B or 6B are better for shading and adding depth.
Use short, quick strokes and vary their length and direction slightly. Focus on creating a natural, uneven appearance.
Absolutely! Digital tools like drawing tablets and software such as Adobe Illustrator or Procreate can make the process more versatile and efficient.
Adding color is optional and depends on your artistic goals. Colored pencils or markers are great for creating a vibrant, realistic look.
The time required varies depending on your skill level and the amount of detail you want to include. On average, it could take anywhere from 30 minutes to a few hours.
Other great options include cups, keys, shoes, and fruits. Each object offers unique challenges and learning opportunities.
Conclusion
Learning how to draw a toothbrush is more than just an artistic exercise—it’s a way to sharpen your skills, improve your attention to detail, and find beauty in the ordinary. With the steps outlined in this guide, you now have the tools and knowledge to create a stunning toothbrush sketch. Remember, the key to improvement is consistent practice and a willingness to experiment. So, pick up your pencils and start drawing. Who knows? This simple project could be the start of a newfound passion for art!
You Might Also Like
Healing A Crying Heartbroken Soul: Steps Toward Emotional RecoveryUltimate Guide To Yaz Chicken: Everything You Need To Know
Ultimate Guide To Cobblemon Rider: Features, Gameplay, And More
Savory Brisket Sandwich Recipe And Tips For The Perfect Bite
Anime Tapestry: A Visual Symphony Of Art And Storytelling
Article Recommendations
- Exploring The Legacy Of George Goldstein A Comprehensive Guide
- Ultimate Guide To Shower Gifs Fun Creativity And More
- Timeless Beauty Of The Restored Mustang A Classic Car Reborn