The adorable corgi, with its short legs, fluffy coat, and expressive face, has captured the hearts of dog lovers worldwide. Whether you’re an aspiring artist or simply looking to try your hand at a creative endeavor, learning how to draw a corgi can be a delightful and rewarding experience. With the right techniques, tools, and a bit of guidance, anyone can create a masterpiece featuring this charming breed.
In this comprehensive guide, we’ll walk you through the process of drawing a corgi step by step. From understanding its unique anatomy to perfecting the finer details of its fur and expression, this article will equip you with everything you need to know. Whether you’re sketching for fun, creating a gift for a loved one, or adding to your art portfolio, this guide is designed to help artists of all levels. We’ll cover everything from basic shapes to advanced shading techniques, ensuring your corgi drawing is as lifelike as possible.
Ready to bring your corgi to life on paper? Let’s dive into the world of art, where we’ll explore techniques, tools, and creative tips tailored for this lovable breed. By the end of this article, you’ll have the confidence and skills to draw a corgi that radiates personality, charm, and realism. Let’s get started!
Table of Contents
- Understanding Corgi's Unique Features
- Tools and Materials You Need
- Basic Sketching Techniques
- Step-by-Step Guide to Drawing a Corgi
- Drawing the Head and Facial Features
- Capturing the Corgi's Expressive Eyes
- Sketching the Body and Legs
- Adding Texture to the Fur
- Perfecting the Tiny Tail
- Shading and Highlighting Techniques
- Creating a Background for Your Drawing
- Common Mistakes and How to Avoid Them
- Tips for Digital Drawing
- How to Improve Your Drawing Skills
- Frequently Asked Questions
Understanding Corgi's Unique Features
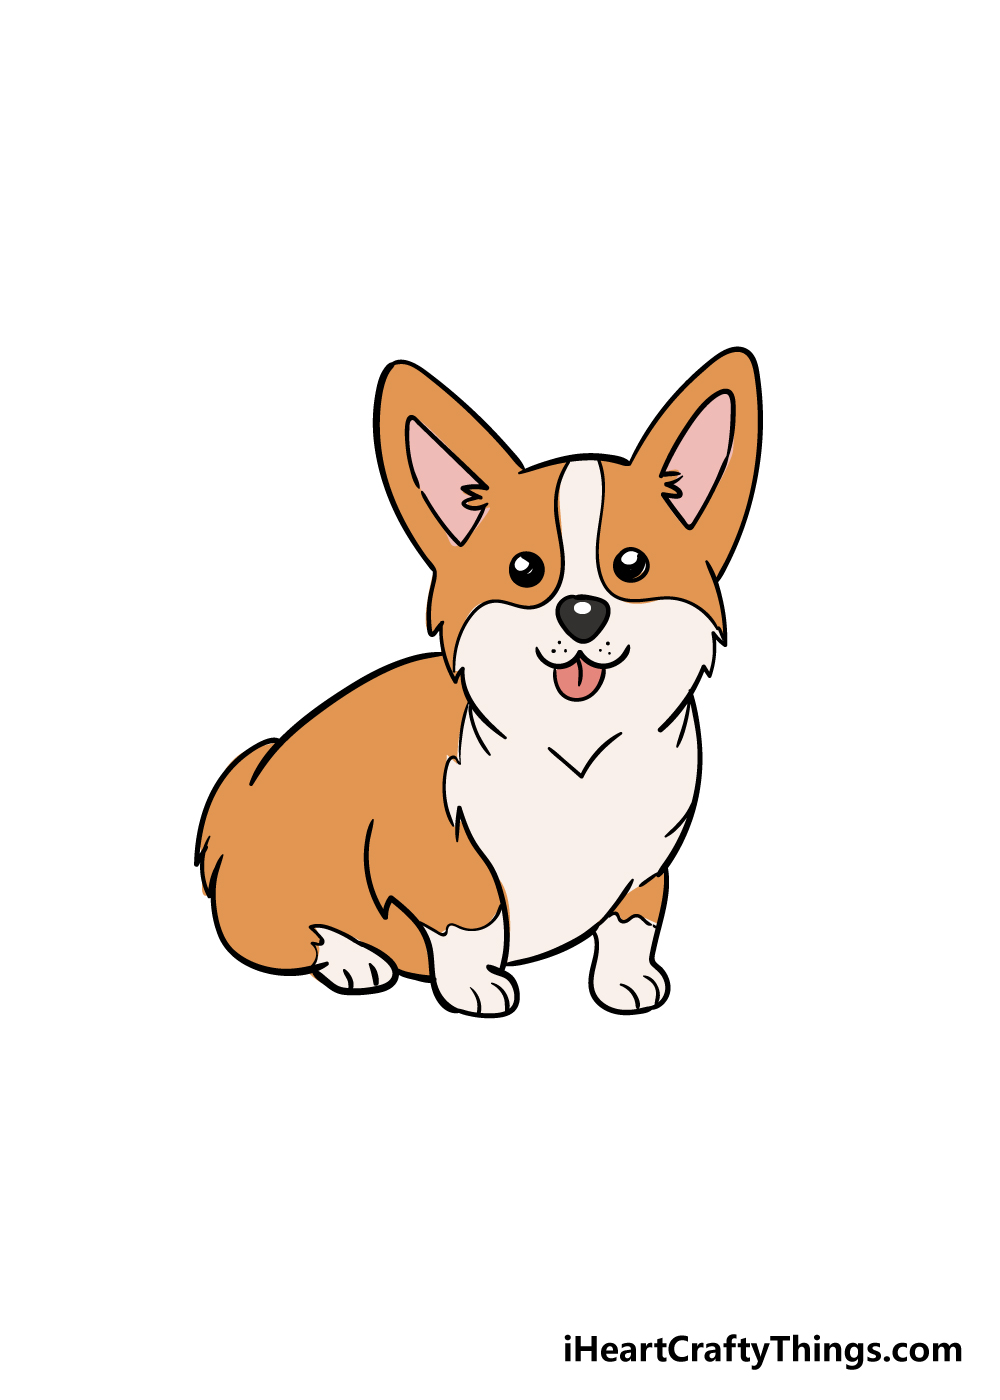
The corgi’s distinctive appearance makes it an exciting subject to draw. With their short, stubby legs, elongated body, and perky ears, corgis are instantly recognizable. Their playful expressions and lively demeanor also add a layer of personality that artists love to capture.
Corgis come in two main breeds: the Pembroke Welsh Corgi and the Cardigan Welsh Corgi. While they share many similarities, there are subtle differences that can influence your drawing. For example, the Pembroke Welsh Corgi typically has a docked tail, while the Cardigan has a long, bushy tail. Additionally, their coat colors and patterns may vary, ranging from red and white to sable, black, and tricolor.
Understanding these unique features is essential before you begin your drawing. Pay attention to their proportions, as corgis have a compact yet balanced build. Their round, expressive eyes and large ears are key focal points that bring their character to life. Observing these details will help you create a more accurate and engaging representation of this beloved breed.
Tools and Materials You Need
Before diving into your corgi drawing, it’s important to gather the right tools and materials. Having the proper supplies ensures that your artwork turns out as polished and professional as possible.
Here’s a list of essential tools for drawing a corgi:
- Sketching Pencils: A range of pencils (2H, HB, 2B, 4B) for sketching and shading.
- Erasers: A kneaded eraser for soft corrections and a standard eraser for precise cleanups.
- Drawing Paper: High-quality, smooth paper suitable for pencil work.
- Blending Tools: Tortillons or blending stumps for smooth shading.
- Ruler: For measuring proportions accurately.
- Fine Liners or Ink Pens (Optional): For adding fine details or outlining.
- Colored Pencils or Markers (Optional): If you want to add color to your drawing.
For digital artists, you’ll need a drawing tablet, stylus, and digital art software such as Procreate, Adobe Photoshop, or Clip Studio Paint. Ensure your software has layering and brush customization options for optimal results.
Once you’ve gathered your tools, set up a comfortable workspace with good lighting. A clutter-free environment will help you focus on your art and bring out the best in your drawing.
Basic Sketching Techniques
Every great drawing starts with a solid foundation, and mastering basic sketching techniques is the first step. These techniques will help you outline your corgi and establish its proportions before diving into the finer details.
1. Start with Simple Shapes
Begin by breaking down the corgi’s anatomy into basic shapes. For example, use a circle for the head, an oval for the body, and rectangles for the legs. This approach makes it easier to map out the overall structure and ensures your drawing remains proportional.
2. Use Light Strokes
When sketching, use light, loose strokes that are easy to erase or adjust. Avoid pressing too hard with your pencil, as this can leave marks on the paper and make corrections difficult.
3. Focus on Proportions
Pay close attention to the corgi’s unique proportions, such as its short legs and elongated body. Use a ruler or measuring tool if necessary to ensure accuracy.
4. Add Guidelines
Draw guidelines to help position the eyes, nose, and mouth correctly. These lines will serve as a reference as you refine your sketch.
Once you’re comfortable with these techniques, you’ll be ready to move on to the next stage: drawing a corgi step by step.
Step-by-Step Guide to Drawing a Corgi
Now that you’ve familiarized yourself with the basics, it’s time to dive into the step-by-step process of drawing a corgi. This section will guide you through each stage, from sketching the outline to adding the final touches.
Step 1: Sketch the Outline
Begin by drawing the basic shapes that represent the corgi’s head, body, and legs. Use light strokes to create a rough outline, focusing on the overall proportions.
Step 2: Add Facial Features
Next, draw the corgi’s eyes, nose, and mouth. Use guidelines to position these features accurately. Remember, the eyes should be expressive and slightly rounded, capturing the corgi’s playful personality.
Step 3: Define the Body
Refine the outline of the body, adding details to the legs, tail, and fur. Pay attention to the corgi’s compact yet balanced build, and make adjustments as needed.
Step 4: Add Texture and Shading
Use shading techniques to add depth and dimension to your drawing. Focus on areas like the fur, ears, and tail, using light and dark tones to create contrast.
Step 5: Final Touches
Complete your drawing by adding fine details, such as whiskers, highlights, and any additional textures. Erase any unnecessary guidelines and clean up the edges for a polished look.
With practice and patience, you’ll be able to create a stunning corgi drawing that showcases your artistic skills.
Frequently Asked Questions
1. How long does it take to draw a corgi?
The time it takes to draw a corgi depends on your skill level and the level of detail you wish to include. On average, it can take anywhere from 1 to 3 hours.
2. Do I need to use reference images?
Yes, using reference images is highly recommended. They help you understand the corgi’s anatomy, proportions, and unique features.
3. Can I draw a corgi digitally?
Absolutely! Digital drawing offers flexibility and allows you to experiment with different tools, brushes, and colors without the fear of making permanent mistakes.
4. What if I make mistakes while drawing?
Mistakes are a natural part of the learning process. Use an eraser or the undo feature in digital art to correct errors. With practice, you’ll make fewer mistakes over time.
5. How can I improve my drawing skills?
Practice regularly, study from reference images, and experiment with different techniques. Joining art communities or taking online classes can also help you improve.
6. What’s the best way to add color to my corgi drawing?
You can use colored pencils, markers, or digital tools to add color. Focus on blending and layering to create a realistic look.
Conclusion
Drawing a corgi is a fun and rewarding experience that allows you to explore your creativity while celebrating this adorable breed. By following the techniques and tips outlined in this guide, you’ll be well on your way to creating a masterpiece. Remember, practice makes perfect, so don’t be afraid to experiment and refine your skills. Happy drawing!
You Might Also Like
Jaclyn Betham: A Multifaceted Star Shining Bright In HollywoodCreative Duck Names For Your Feathered Friends: A Complete Guide
Inspirational Life And Achievements Of Summer Lin
All About Tina Paner: The Life And Career Of A Timeless Icon
Who Is Jackie Melby? A Story Of Talent, Passion, And Dedication
Article Recommendations
- Latest Hockey Buzz Trends Updates And Exciting Developments
- Botafogo Fc The Pride Of Brazilian Football
- Inspirational Christian Quotes To Strengthen Your Faith